Using Lab Dashboard
About the Feature
The laboratory management module in Bahmni is built upon an Open Source software called OpenELIS. When a patient is registered in Bahmni using the registration module, the patient name and demographic information is synced automatically to the lab system. When the patient goes to the lab, the lab technician collecting the sample can look up the patient and add tests for that patient.
The lab module syncs back the tests added, along with the results and referral information back to the clinical module for the doctors and nurses to see this information. The key features of the laboratory management system are:
- Sample collection
- Recording tests and results.
- Printing out of results.
Used By
The lab dashboard is used by the lab technician to view the queue of patients from whom samples are to be collected.
How is it Used?
1. Collect Samples
Clicking on Collect Sample takes the user to the "Add Sample" page.

Lab Dashboard
On the "Add Sample" page, the user can see the tests that are ordered by the doctor. The user can also see the corresponding samples that are to be collected. Click on "Generate" to generate an accession number for the sample. Then click on "Save"
 Add Sample Page
2. Record Results
The user can also view the queue of patients to enter test results. On clicking "Result", the user can access the page where they can enter the test results against each test done for the patient.
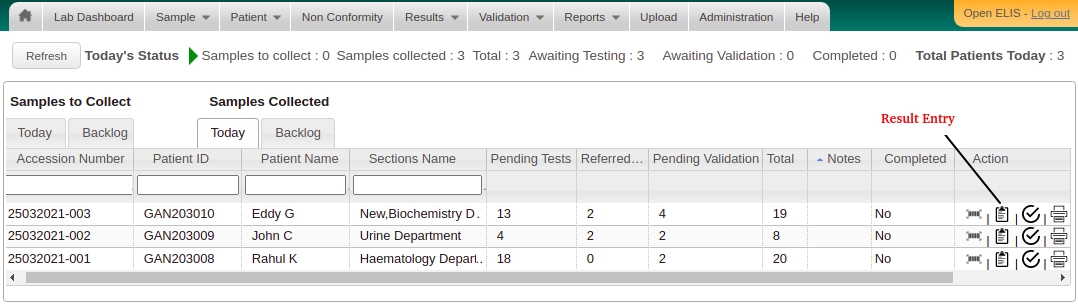
Lab Dashboard - Samples Collected Tab
3. View Referred Out Test Counts
While recording the results user has an option to refer out the desired test(s) as explained here Referring out Laboratory Test(s) and Result Entry for the same. Once the test(s) are referred out, count of those tests can be seen in the Lab Dashboard under Samples Collected - Today / Backlog - Referred Out column. Total column in the dashboard includes the count of Referred Tests too.

Referred Out Tests Count
4. Print Results
The user can validate the test results from the lab dashboard and also take a print out of the test result report for the patient. To do that click on the "Print" button in the "Action" column below
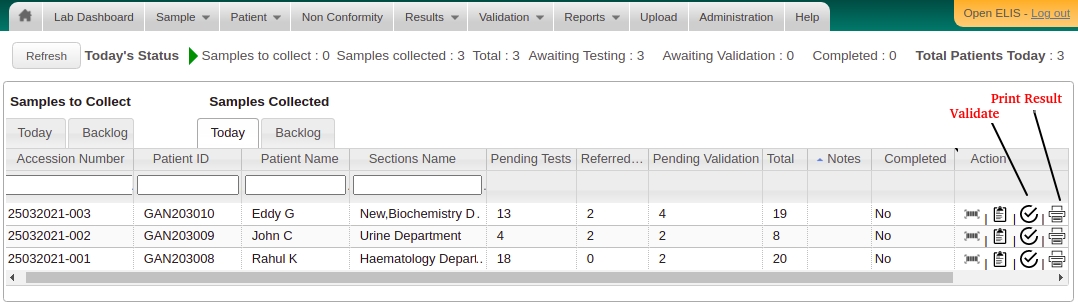
Lab Dashboard - Samples Collected Tab
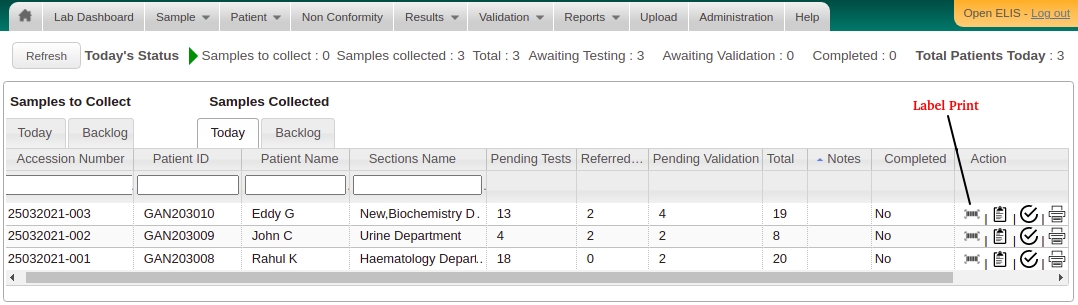
5. Print Sample Label
Patient identifier
Patient name
Age
Gender
Accession number
Sample reception date and time
Accession barcode
On this Page
The Bahmni documentation is licensed under Creative Commons Attribution-ShareAlike 4.0 International (CC BY-SA 4.0)